Installation Instructions
Your walls will be magical in no time. Following these six steps will make installation a breeze.
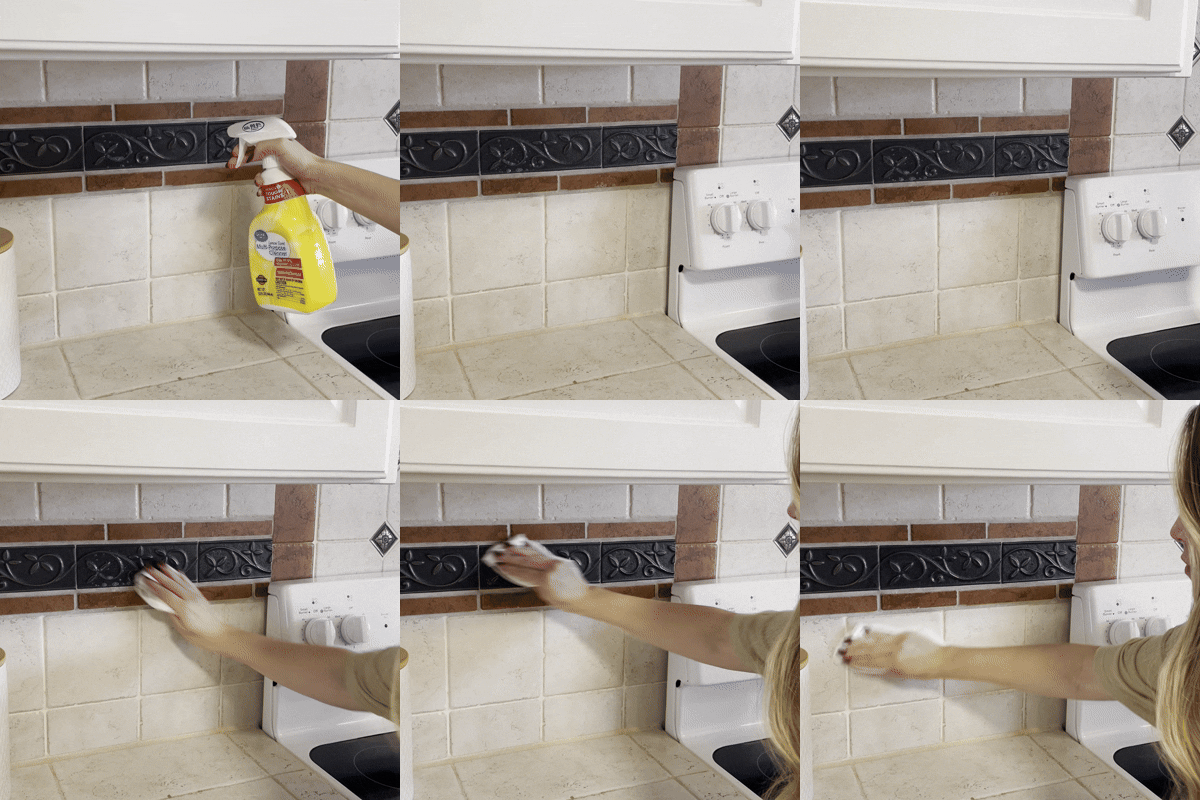
Step One
Clean Surface
Use a mild cleaning agent to prep the surface that you are installing tiles to. Residue, dirt, and oils can make adhesion trickier for the tiles - causing unwanted peeling.
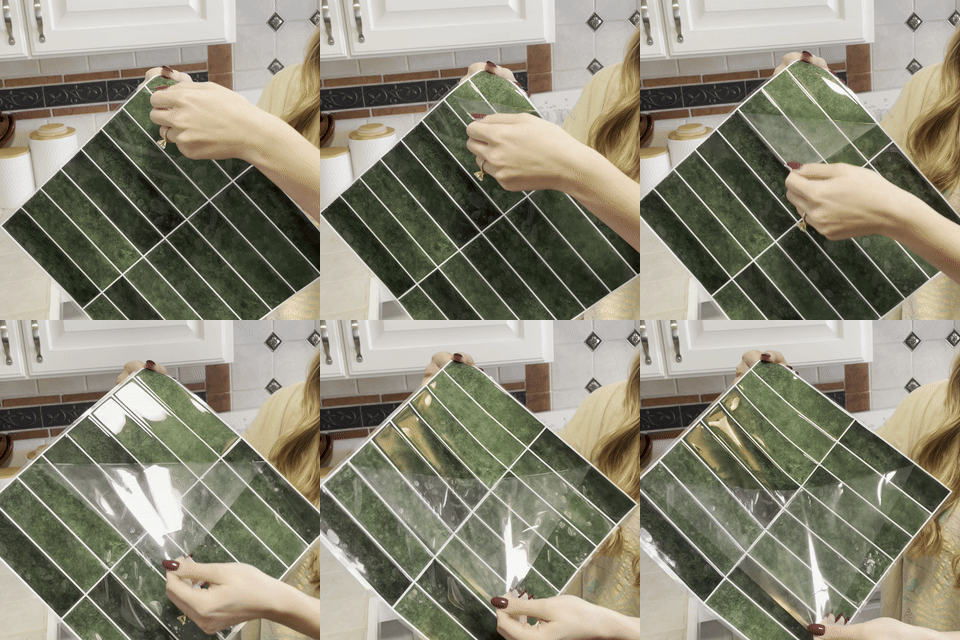
Step two
Remove Front Covering
Each tile has a clear protective sheet on the front of the tile. Simply remove this covering to reveal the tile.
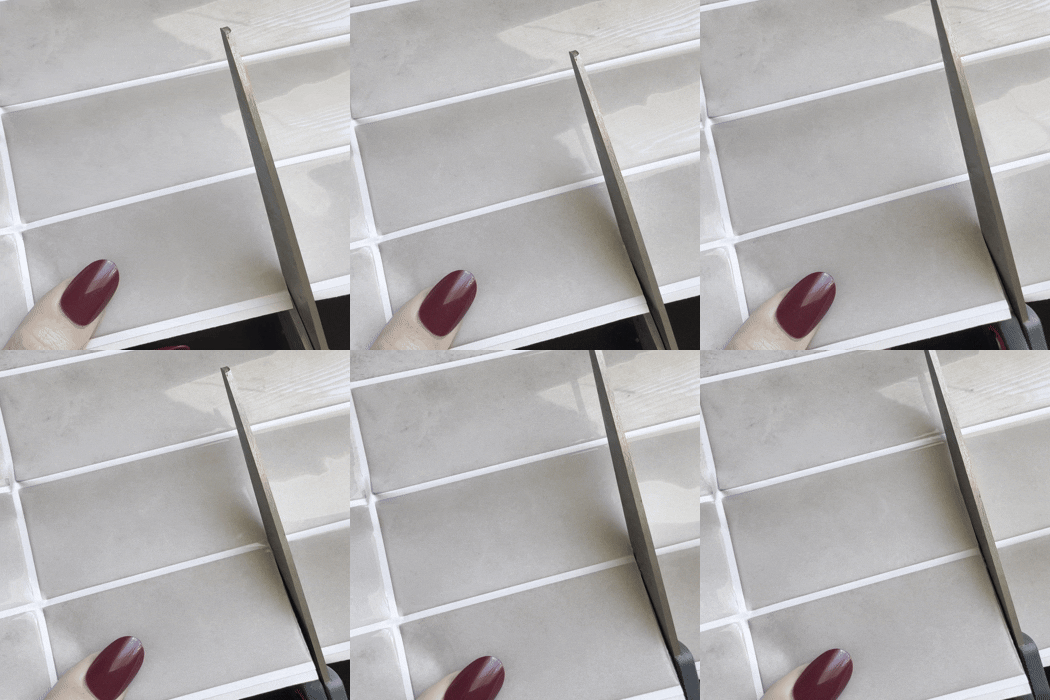
step 3
Cut Tiles
Myko Tiles are easy to cut with a paper cutter, scissors, or utility knife. Whether you're cutting the tiles to fit around an outlet or to better fit your space, cutting the tiles is pretty straightforward. Like my mom always used to say, "Measure twice - cut once!"
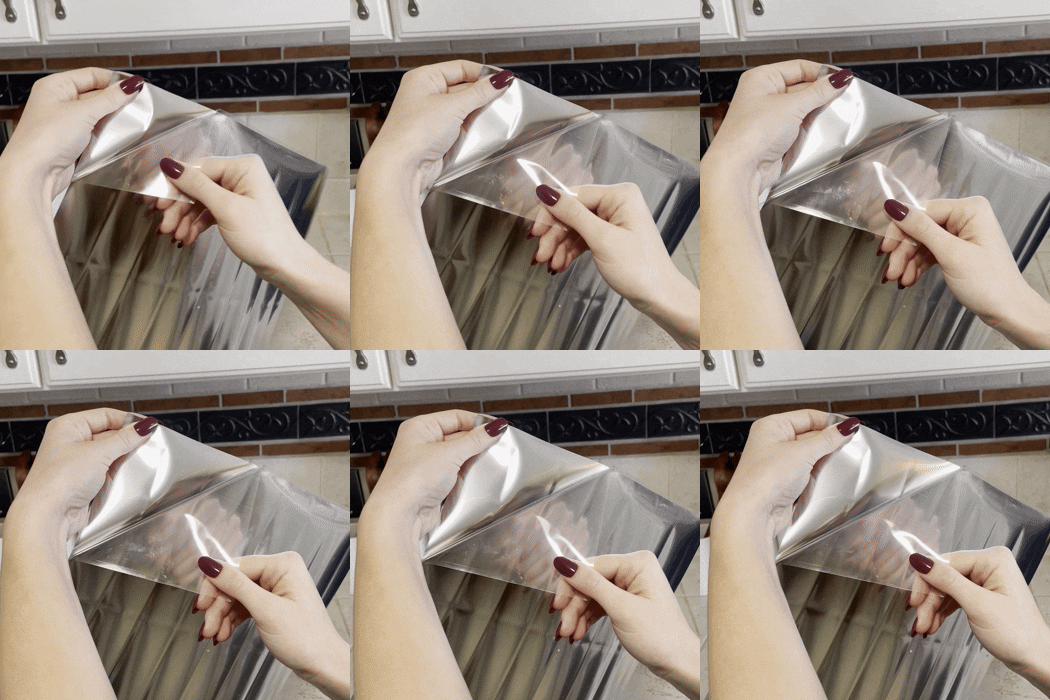
Step Four
Remove Backing
Each tile has a clear sheet that when removed will reveal the adhesive backing.
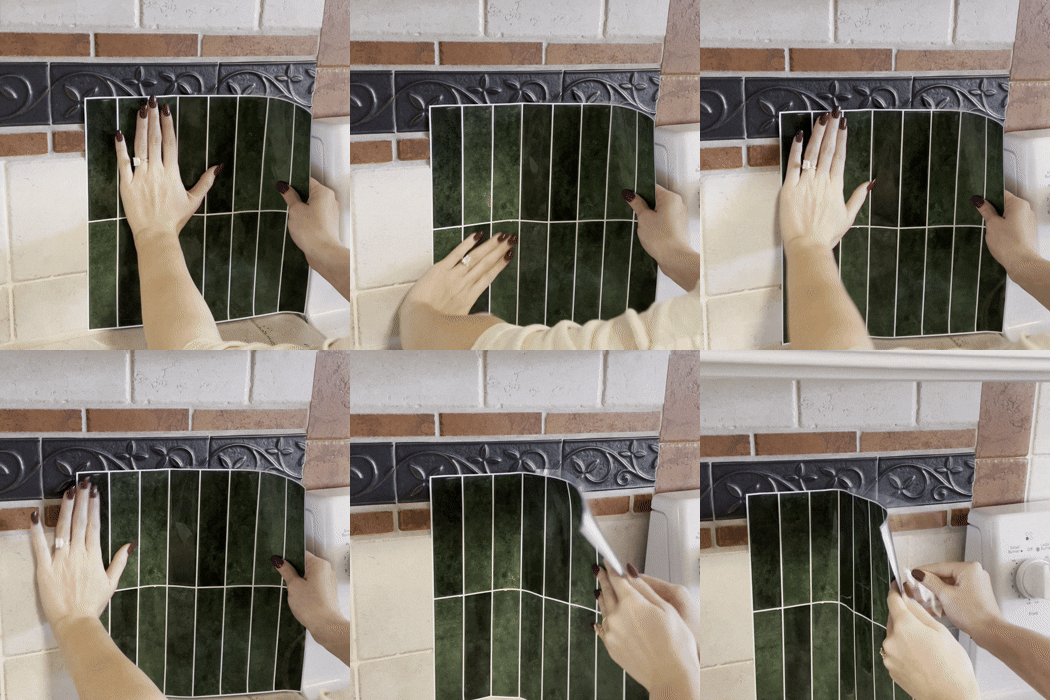
Step Five
Place Tiles
Carefully align the edge of your tile to make sure you like its position. Press firmly to secure the tile. When placing more tiles, take care when overlapping the grout lines.
Step Six
Overlap and Repeat
After your first tile is placed, carefully align the next tile by overlapping their edges to create a seamless look.
Pro Tips + FAQ
What surfaces can Myko Tiles be applied to?
Myko Tiles stick best to smooth, dry, and clean surfaces—think painted walls, glass, laminate, and even existing tile. If it’s bumpy, crumbly, or super textured, it’s best to skip it or prep the surface first!
- Smooth and dry surfaces that work well: smooth painted drywall, glass, tile, laminate, metal, sealed wood, plastic panels, wallpaper
- Surfaces with rough and bumpy textures that can make adhesion more difficult: textured walls, uneven surfaces, unsealed wood, freshly painted walls (wait at least 3 weeks for paint to fully cure)
Are Myko Tiles renter-friendly?
Mostly, yes! Our peel-and-stick tiles are a great option for renters who want to add charm without committing to a full reno. However, everyone's surfaces are going to be a little different—some paints and surfaces may be more delicate, and our adhesive is designed to stick well (reducing annoying peeling and curling), so removal could lift paint in some cases.
We always recommend testing a tile first (we offer singles!) and removing slowly with heat (like a hairdryer) when it’s time to move.
Please note: While we provide detailed installation instructions to help you get the best results, Myko Tile is not responsible for any damage that may occur during installation or removal. Every surface is unique, so we always recommend testing a tile first and assessing your space before getting started.
How do I clean Myko Tiles?
To clean your Myko Tiles, simply wipe them down with a damp cloth and a mild soap solution. Avoid harsh chemicals or abrasive scrubbers to keep the tiles looking fresh and protect the adhesive. For tougher spots, use a soft sponge.
How do Myko Tiles handle heat?
To keep your tiles looking their best (and safe!), we recommend installing them at least 12 inches (30 cm) away from gas stoves without a back panel or metal cover. Without that barrier, open flames and high heat can damage the adhesive or the tile surface over time. A little space goes a long way in keeping things cute and kitchen-safe.
Pro Tip: How to create the most polished look
Start where it shows:
Begin placing your tiles in spots where edges and seams will be most visible—like eye-level areas or open walls. This helps you line things up cleanly from the start, so everything looks polished and intentional. Any small cuts or adjustments can be saved for corners or lower areas where they’re less noticeable.
Pro Tip: How to avoid bubbles
Peel slowly and place carefully:
Start by removing just a small section of the backing—don’t peel the whole thing off right away. This lets you line up the tile edges more accurately, especially if they need to overlap. Once it’s in the right spot, peel off the rest of the backing and press the tile down, starting from the center and smoothing outward to push out any air bubbles.
